Easy Guide to Transfer iPhone Photos to PC
In the digital age, our lives are captured and stored in the form of photos on our smartphones. For many, the iPhone is the preferred device for capturing these invaluable memories. While these photos are precious, they can also eat up storage space, making it necessary to transfer them to a more spacious outlet, such as a personal computer. This essay enlightens the general public on the details of performing this task.
It delves into understanding the iPhone’s file system and the Photos app, explores various file-sharing platforms like iTunes, iCloud, Dropbox, and Google Photos, and finally offers a practical guide on how to transfer photos from your iPhone to your PC.
Understanding your iPhone
iPhone’s File System
Your iPhone uses an operating system named iOS, with a prearranged file system working behind the scenes, mainly hidden to average users. Photos taken on an iPhone get stored in a designated area within this file system, inside the Photos app. Within this app, photos get organized into folders and albums for easy navigation.
Familiarizing with Photos App
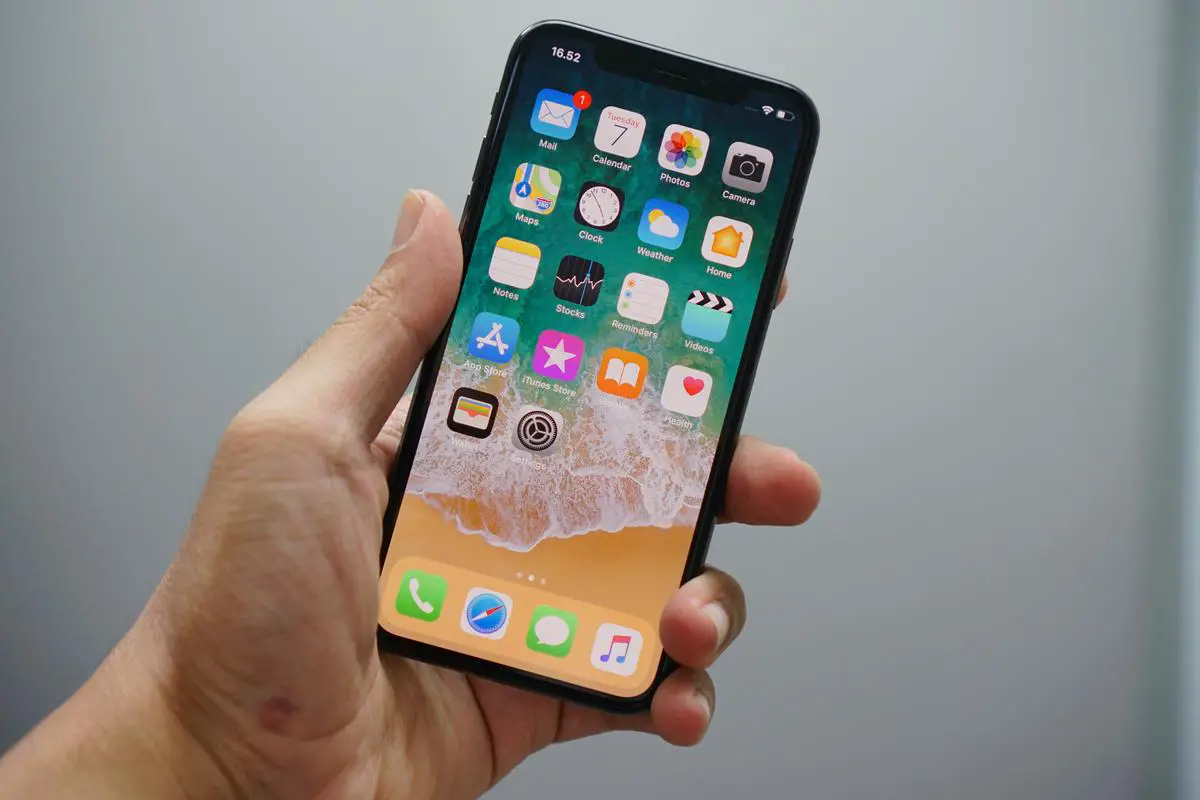
To access photos on your iPhone, look for the Photos app represented by a multi-colored flower icon. Opening the app, you will typically find four tabs at the bottom of the screen labeled: Photos, For You, Albums, and Search. The ‘Photos’ tab organizes your pictures by dates, locations, and in some cases, by the people in them. The ‘For You’ tab generates curated collections and highlights. The ‘Albums’ tab contains all of your photos in structured categories such as Camera Roll, Favorites, Videos and more.
Important iPhone Settings for Photo Transfers
To facilitate the smooth transfer of photos from your iPhone to your computer, there are a few key settings within the iPhone you need to understand. Primarily, they are ‘iCloud Photos’ and ‘Transfer to Mac or PC’.
- iCloud Photos: This feature, located within your iPhone’s Settings app under ‘Photos’, automatically uploads and stores all of your photos and videos in iCloud so you can access them from all your devices. If iCloud Photos is enabled, your media will be stored in the cloud instead of being transferred directly from your iPhone to your computer, and you will need an internet connection to access them.
- Transfer to Mac or PC: This is a setting that determines how photos and videos transfer from your iPhone to your computer. This feature, underneath iCloud Photos in the Photos settings, has two options: Automatic and Keep Originals. ‘Automatic’ will automatically transcode the photos and videos to a compatible format for the destination device. ‘Keep Originals’ will transfer the raw files without any changes.
Understanding these aspects of your iPhone’s file system and settings will equip you well to transfer photos from your iPhone to a PC.

Learning about File Sharing Platforms
iCloud Method
iCloud is a built-in service on iPhones that effortlessly syncs files across all your Apple devices. To use iCloud to transfer photos from iPhone to PC, you first need to make sure iCloud Photos is enabled on your phone. Go to ‘Settings,’ tap on your name, then ‘iCloud.’ Scroll down to ‘Photos’ and make sure that ‘iCloud Photos’ is turned on.
On your PC, download and install iCloud for Windows. Once installed, sign in with your Apple ID and tick the box next to ‘Photos.’ Click on ‘Options’ then check ‘iCloud Photo Library.’ Select ‘Done’ then ‘Apply.’ Now, any photos taken on your iPhone will automatically appear in the ‘iCloud Photos’ folder in File Explorer.
iTunes Method
iTunes is another Apple product that can be used to transfer photos from your iPhone to your PC. Firstly, download and install the latest version of iTunes on your PC. Connect your iPhone to your PC with a USB cable and open iTunes. Click on the device icon, then on ‘Photos.’ Check ‘Sync Photos’ then choose the app or folder that you want to sync from. Click ‘Apply’ to begin syncing your iPhone photos with your PC.
Dropbox Method
Dropbox is a third-party application that can be used to transfer photos. Install the Dropbox app on your iPhone and PC. On your iPhone, open Dropbox, tap on ‘+ Create,’ select ‘Upload photos,’ then choose the photos you wish to transfer. Once uploaded, these photos can be accessed on your PC by opening Dropbox and navigating to the ‘Photos’ folder.
Google Photos Method
Google Photos is an app that automatically backs up and syncs your photos on the cloud. To use Google Photos, download and install the app on your iPhone. Open Google Photos, sign in to your Google account and turn on ‘Back up & Sync.’ Once your photos have been backed up, you can access them on your PC by visiting photos.google.com and signing into the same Google account.
Third-Party Apps Method
There are numerous third-party applications available that can help with photo transfer between an iPhone and PC. Examples include Photo Transfer App and Simple Transfer. These apps generally work by creating a local network between your iPhone and PC, making it easy to transfer photos. Instructions for setup and use will vary by app, but most will require you to install software on both your iPhone and PC. Ensure to follow the specific instructions provided with each app for best results.

Performing the Photo Transfer
Step 1: Using a USB Cable
This method requires a USB cable, which is typically used for charging your iPhone.
- Begin by connecting your iPhone to your PC using the USB cable.
- If it’s your first time connecting your iPhone to the PC, you’ll need to trust the computer on your iPhone. A pop-up asking whether you trust the computer you’ve just connected will appear, chose ‘Trust’.
- On your PC, open the ‘File Explorer’. It’s typically found as a folder symbol on your taskbar.
- Under ‘My Computer’ or ‘This PC’, you’ll find your device’s name, click on it.
- Find ‘Internal Storage’ or ‘DCIM’, where your photos are stored. Click on it to open and view the pictures.
- Select the photos you want to transfer, then copy and paste them onto your PC destination.
Your photos should now be transferred. If you have any difficulties with this process or can’t find your device, make sure your device is turned on and unlocked, and the USB cable is working properly.
Step 2: Using iCloud
iCloud is a cloud storage service from Apple that allows you to store and sync photos, videos, and other files across all your Apple devices.
- On your iPhone, go to ‘Settings’, tap on your name, and then choose ‘iCloud’.
- Under the iCloud settings, find ‘Photos’ and turn on ‘iCloud Photos’ or ‘iCloud Photo Library’.
- On your PC, download and install ‘iCloud for Windows’. After installation, open iCloud and sign in with your Apple ID.
- Check ‘Photos’ and then click on ‘Options’. Make sure that ‘iCloud Photo Library’ is turned on.
- Any photos that you add to your iCloud Photo Library will now automatically download to your PC.
Remember that this method requires an internet connection and could use a lot of bandwidth if you have a lot of photos.
Step 3: Using Third-Party Apps
There are various third-party apps, such as ‘EaseUS MobiMover’, ‘AnyTrans’, or ‘iMazing’ that can transfer photos from an iPhone to a PC.
- Firstly, download and install your chosen third-party app on your iPhone and PC.
- Connect your iPhone to your PC using a USB cable.
- Open the installed software on your PC and follow the instructions provided by the app. The process usually involves recognizing the device, selecting the photos you want to transfer, and choosing the destination folder on your PC where the photos will be saved.
Some third-party apps may offer faster transfer speeds, but make sure to download and install apps from trusted sources to ensure the security of your data.

After gaining a clear understanding of the iPhone’s file structure, familiarizing yourself with the Photos app, and exploring various file-sharing platforms, you are now better positioned to take on the task of transferring photos. The real-world application section has provided essential hands-on knowledge about moving different formats of photos from your iPhone to your PC using various methods.
This skill not only provides a convenient way to free up phone storage space but also ensures that your precious memories are securely preserved on a secondary platform. With these handy skills, you can now keep your iPhone photo collection well-managed and easily accessible.
